Single sign-on in Entra ID
You may need an administrator role in Azure Entra ID to be able to complete this guide.
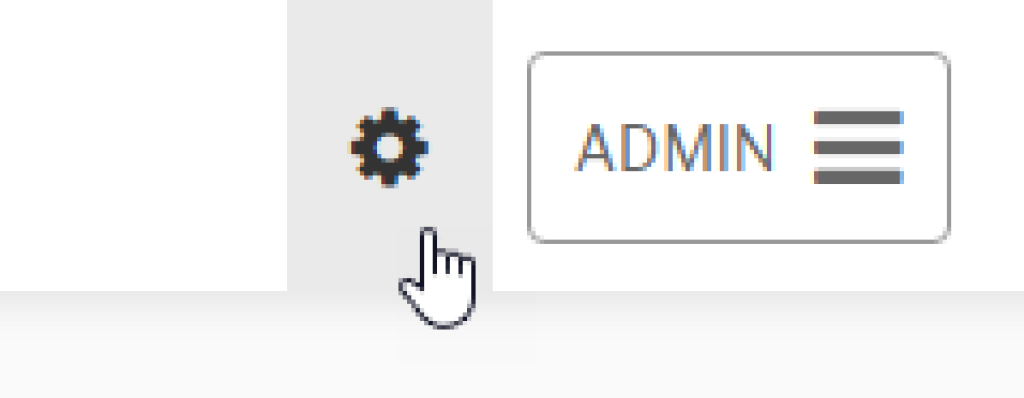
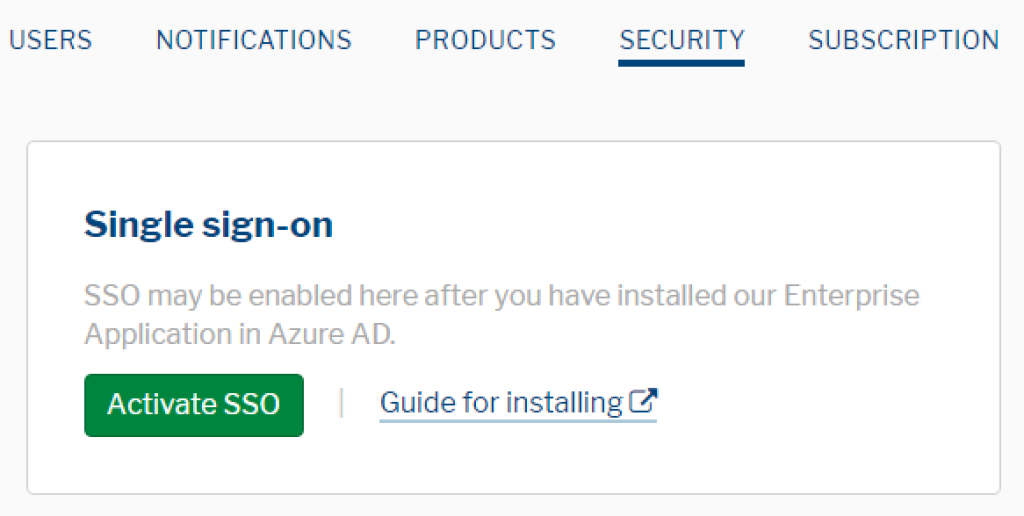
In the Secure Practice customer portal, click the «Settings» button in the top right corner, and navigate to the «SECURITY» tab at the top.
Then, locate the «Single sign-on» section, and click «Activate SSO»:
Open the admin portal, enter your username in the login prompt. Click «Continue».
Your browser will automatically redirect to your organization's login page for Office 365.
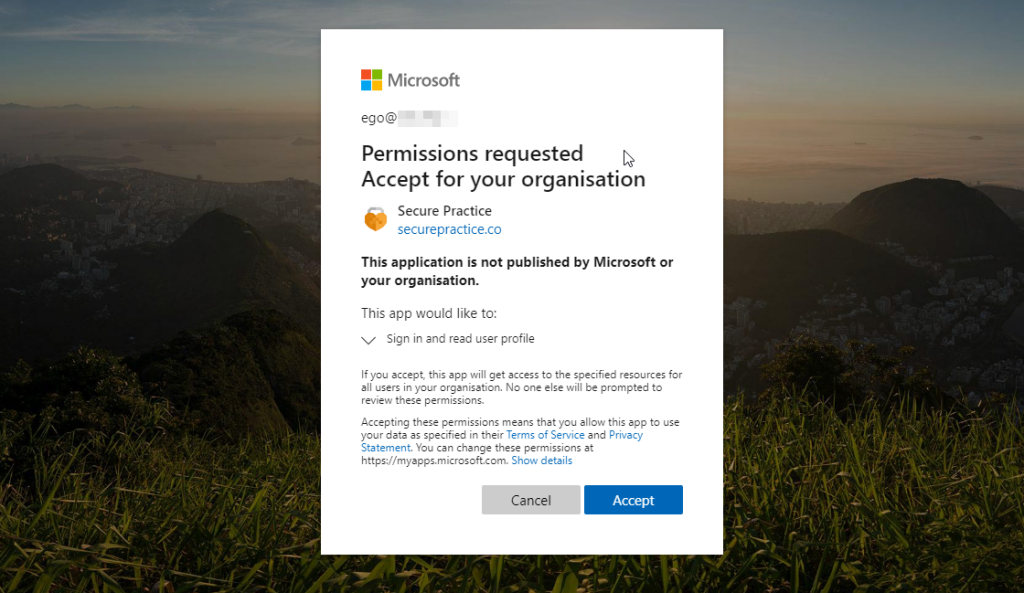
After completing your organization’s login, you will be prompted to approve the Secure Practice application to access your user profile information:
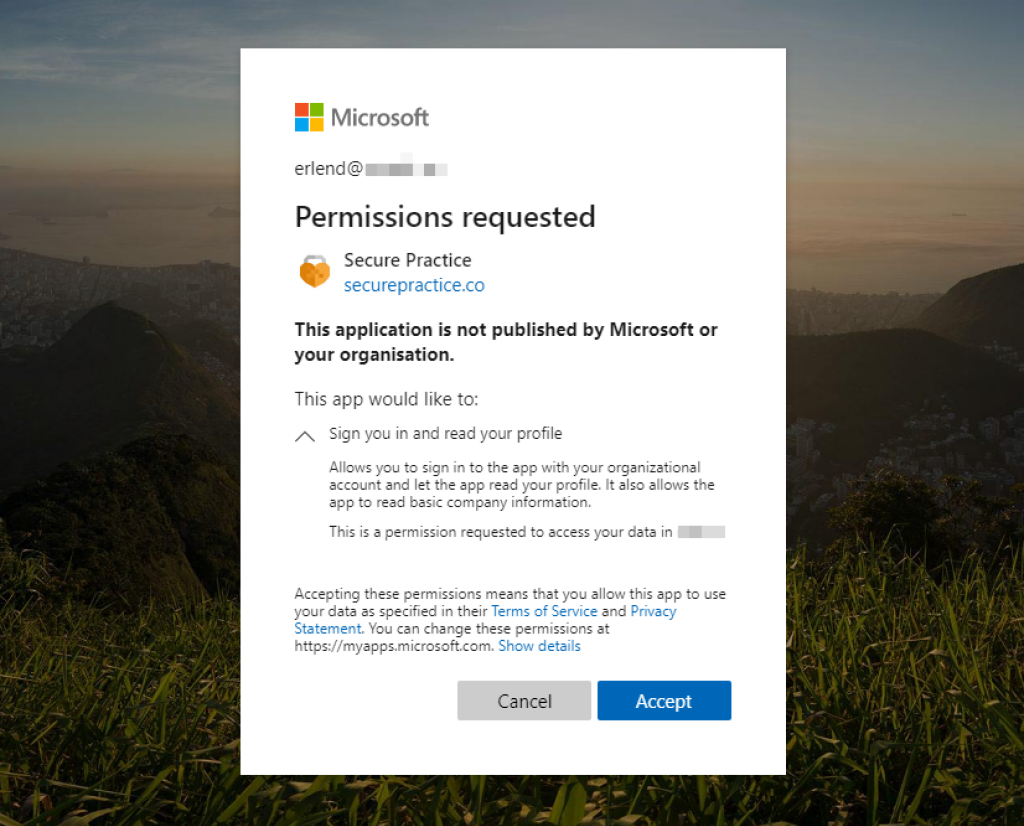
Personal data offered through such basic profile information includes email address, name, title, company, department, phone number, address, language and profile image (if available).
Choose «Accept» to grant access (permission only applies to this specific account for now).
Shortcut: If you have already signed in with an Office 365 administrator account, you may see an option to consent on behalf of your organization:

Tick this box to skip the remaining steps in this guide, before clicking «Accept».
After completing the approval flow for the first single user, you may want to relieve your colleagues from having to each grant their own permissions.
Since our application has now been approved once in your tenant, you can find it in the Entra ID Admin Portal (requires administrator access), in «Enterprise Applications»:
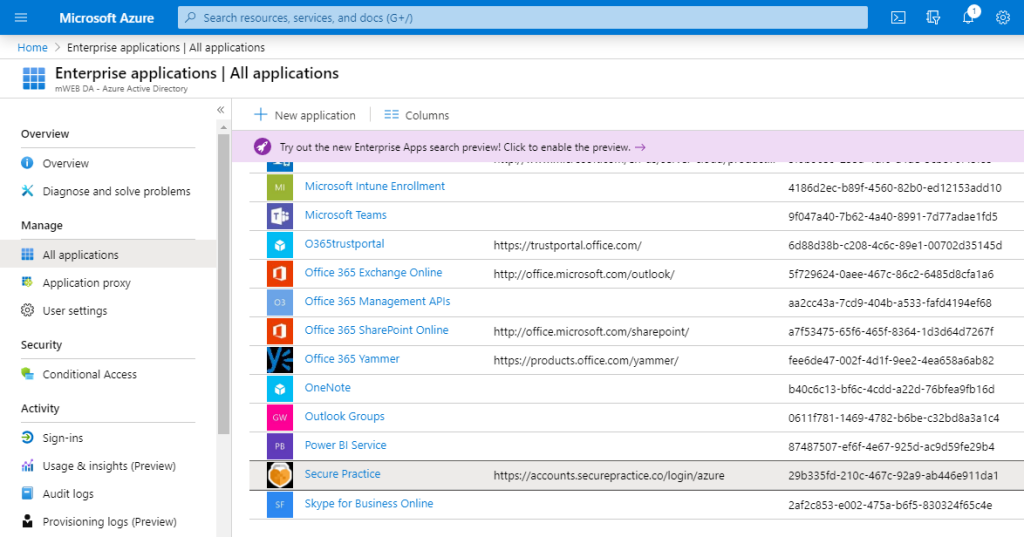
Click the «Secure Practice» application, and then the «Permissions» tab in the left menu.
Click the «Grant admin consent for (your company)» button to initiate a new approval flow:
![Location of the Grant Admin Consent For [your company] button.](/img/asset/aW1hZ2VzL2d1aWRlcy9hYWQtc3NvLXN0ZXAzLnBuZw/aad-sso-step3.png?w=1024&h=547.79661016949&fit=crop&q=85&s=442ea9cb156b8d148e9ad5c4313f539c)
This time, the permissions dialog requests you to «Accept for your organization», rather than simply your individual user account.
Click «Accept» in the permissions dialog to approve.
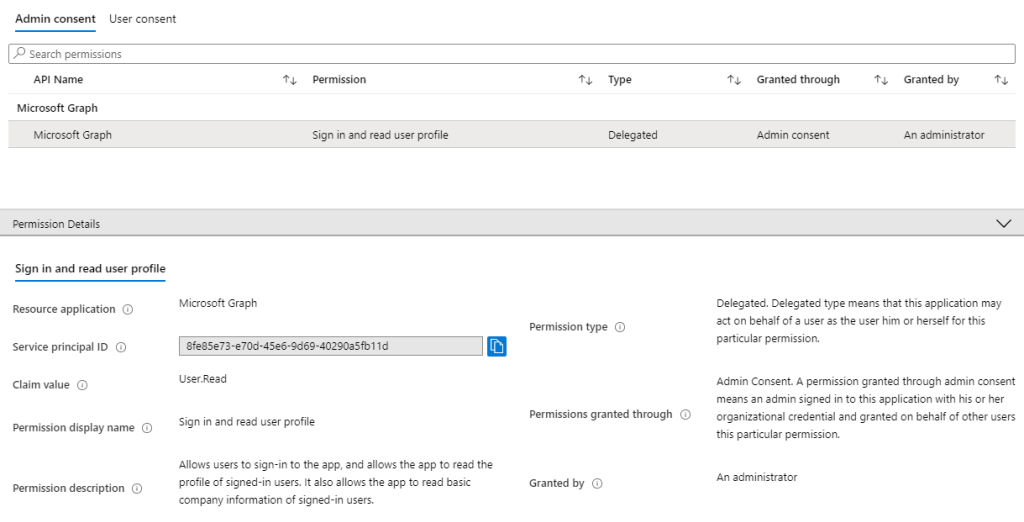
Finally, you may review the application permission in the Entra ID Admin Portal, by clicking the corresponding Microsoft Graph permission which was created.
An encrypted copy of user data may be stored in our accounts service, depending on customer configuration, and in line with the data processing agreement. The configuration of single sign-on with Entra ID gives Secure Practice no further access to your organization's directory, apart from the relevant user data when an actual sign-in takes place, based on user interaction.
We are happy to answer any compliance or data protection related questions you may have.